Proper sod installation is more than just rolling out grass—it requires careful preparation, soil assessment, and proper aftercare. In this post, we’ll cover step-by-step instructions on soil prep, grading, watering schedules, and common mistakes to avoid. Whether you’re tackling the project yourself or hiring a professional, this guide will help you achieve a lush, green lawn that thrives.
Step 1: Prepping Your Yard for Sod
- Remove old grass, weeds, and debris.
- Test and amend soil with nutrients as needed.
- Ensure proper grading and drainage to prevent pooling.
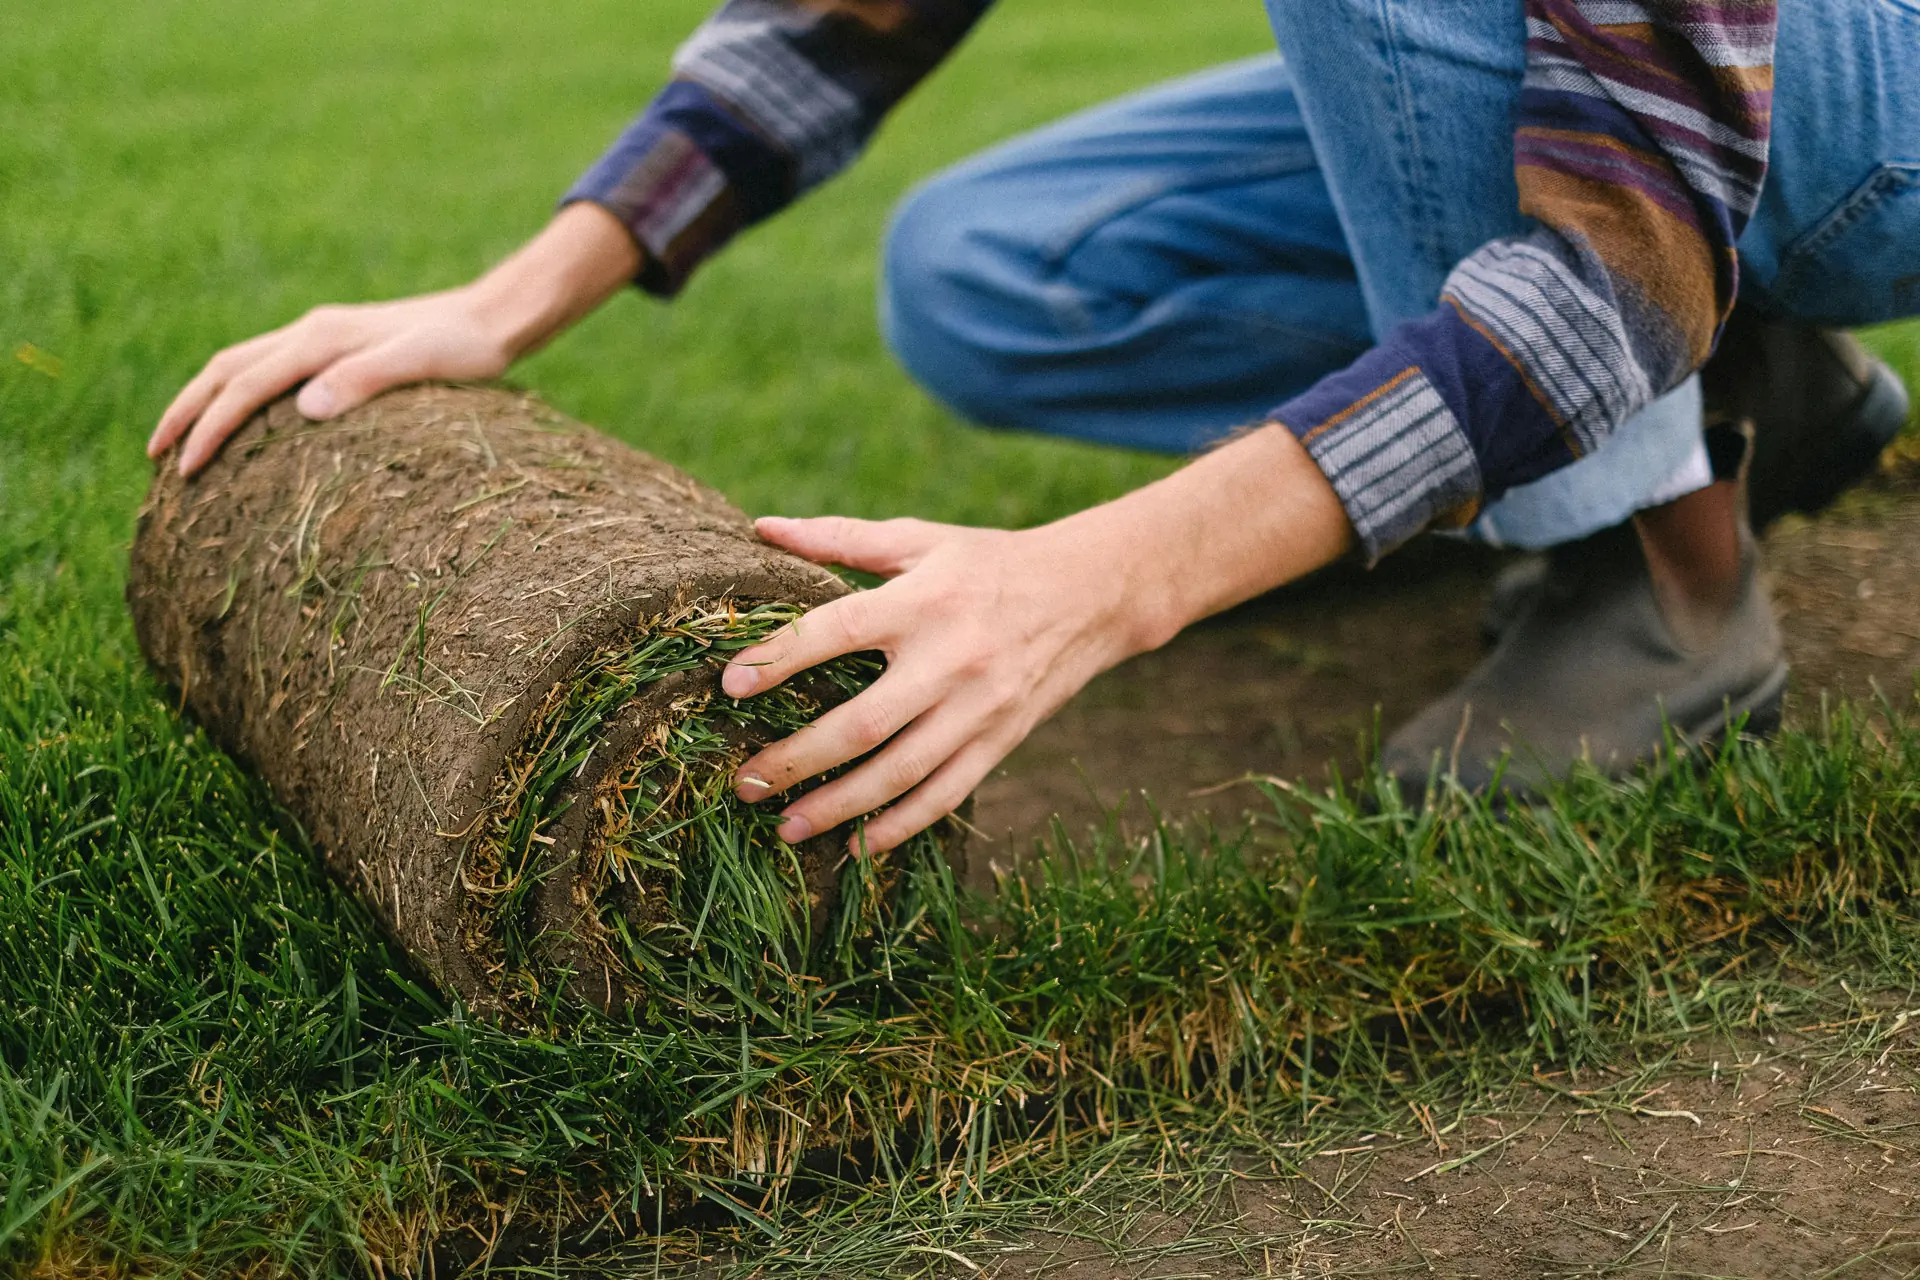
Step 2: Laying the Sod Properly
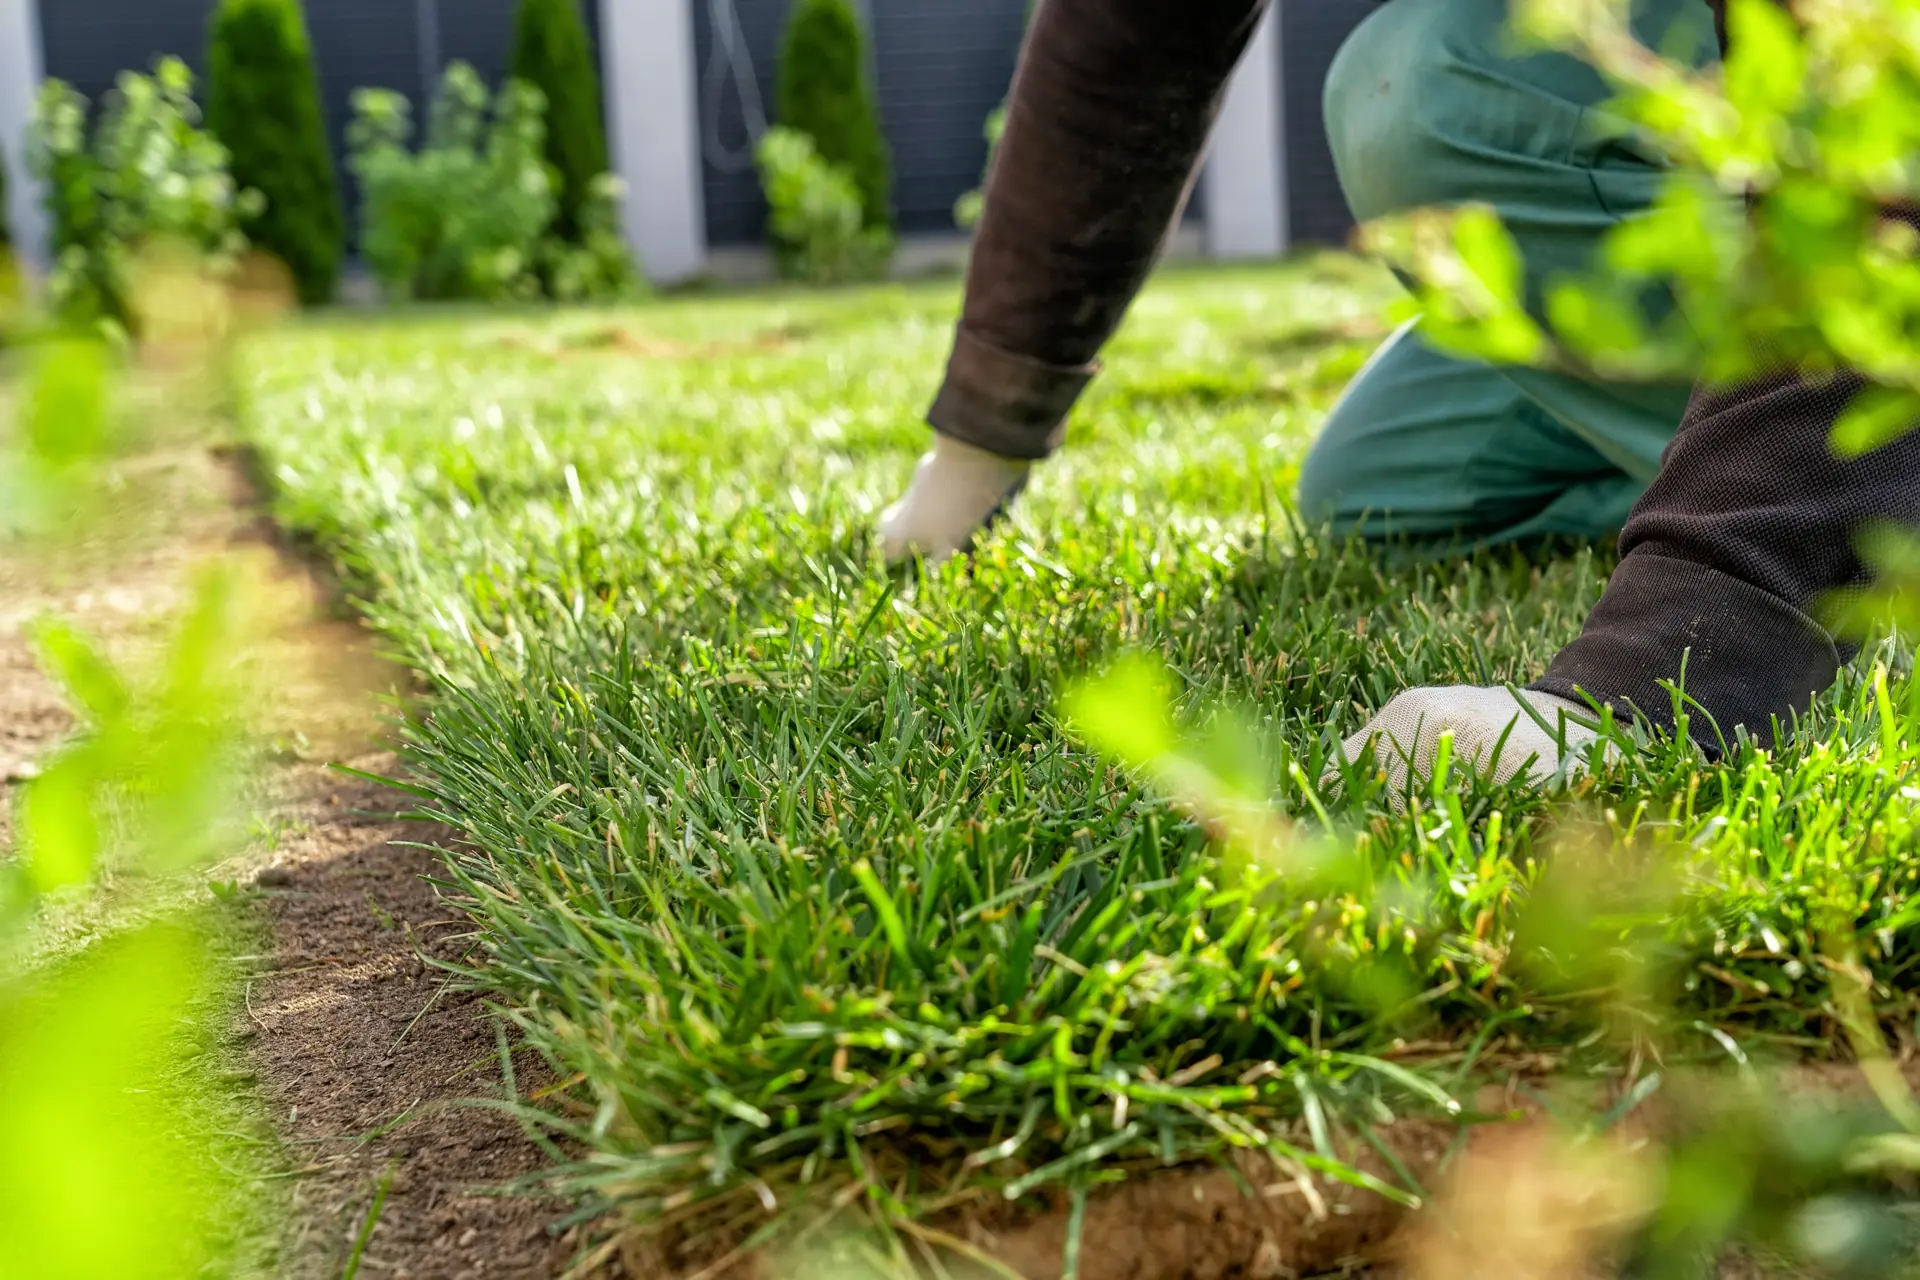
- Start along a straight edge (like a sidewalk).
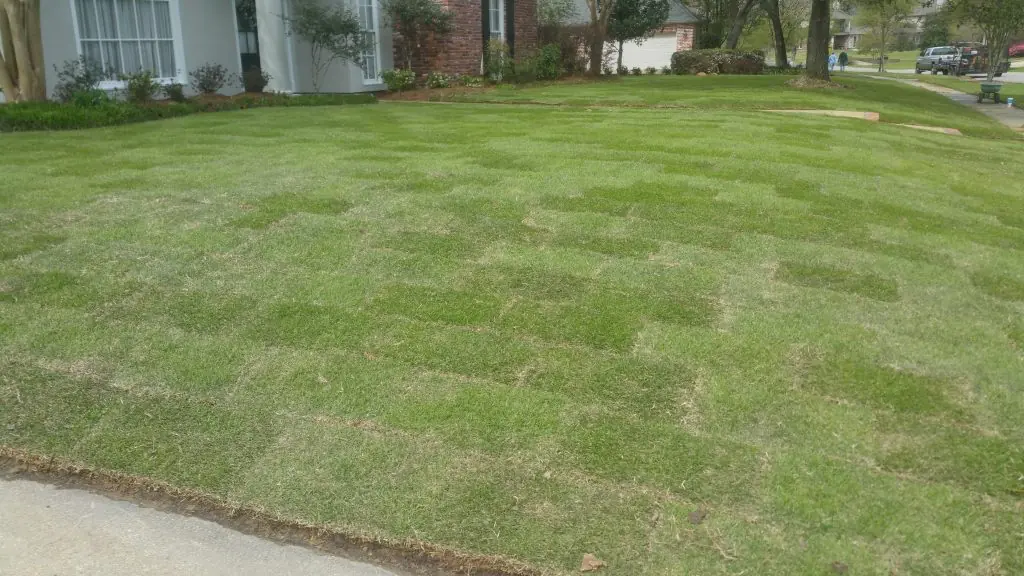
- Stagger the seams like brickwork to prevent gaps.
- Press the sod down to ensure root contact with the soil.
Step 3: Watering & Post-Installation Care
- First week: Water 2-3 times a day to keep the sod moist.
- Second week: Reduce watering frequency but increase deep soaking.
- Third week: Establish a consistent watering schedule based on climate.
Mistake to Avoid:
Avoid walking on new sod for at least 2 weeks to prevent shifting and root damage.