You can install sod yourself if the area is manageable, the soil is sound, and you understand grading, irrigation, and placement. Small, flat lawns are easier than large or uneven properties.
When DIY Installation May Work
DIY installation may be practical when the site needs minimal correction and you can complete the work quickly. Sod begins drying after harvest, so it should be placed soon after delivery.
You must also be able to water the lawn immediately and consistently during establishment. Delayed watering can damage sod before roots begin entering the soil.
When Professional Help Is Better
Professional help is practical when old turf needs removal, soil needs amendment, or drainage problems affect the yard. Slopes, narrow access points, and large areas increase labor and planning requirements.
Installation may appear simple, but preparation determines whether sod roots evenly and remains stable. Learning how to prepare a yard for sod installation can help homeowners understand the work involved before deciding between DIY and professional service.
What Are the Benefits of Hiring a Professional Sod Installer?
A professional installer can improve preparation, speed, handling, and appearance. Experienced crews know how to evaluate soil, establish grade, calculate quantities, and position sod without leaving avoidable gaps.
Better Soil and Site Evaluation
Professionals look for compaction, poor drainage, low areas, debris, and unsuitable soil. They can recommend grading, topsoil, or amendments before installation begins.
Correcting these conditions first helps prevent standing water, thin growth, and uneven settlement. Proper sod preparation services help create a stable foundation before new turf is placed.
Faster Placement
Fresh sod should not remain stacked, especially during warm weather. A trained crew can unload, cut, fit, and roll the material more quickly than most homeowners.
Coordinated sod delivery also helps reduce the time fresh material remains unused before installation.
Consistent Results
Professional crews stagger seams, fit edges tightly, avoid overlaps, and protect finished sections during installation. These details improve appearance and reduce drying along exposed edges.
Choosing professional sod installation services provides guidance about watering, mowing, and early traffic.
How Difficult Is DIY Sod Installation?
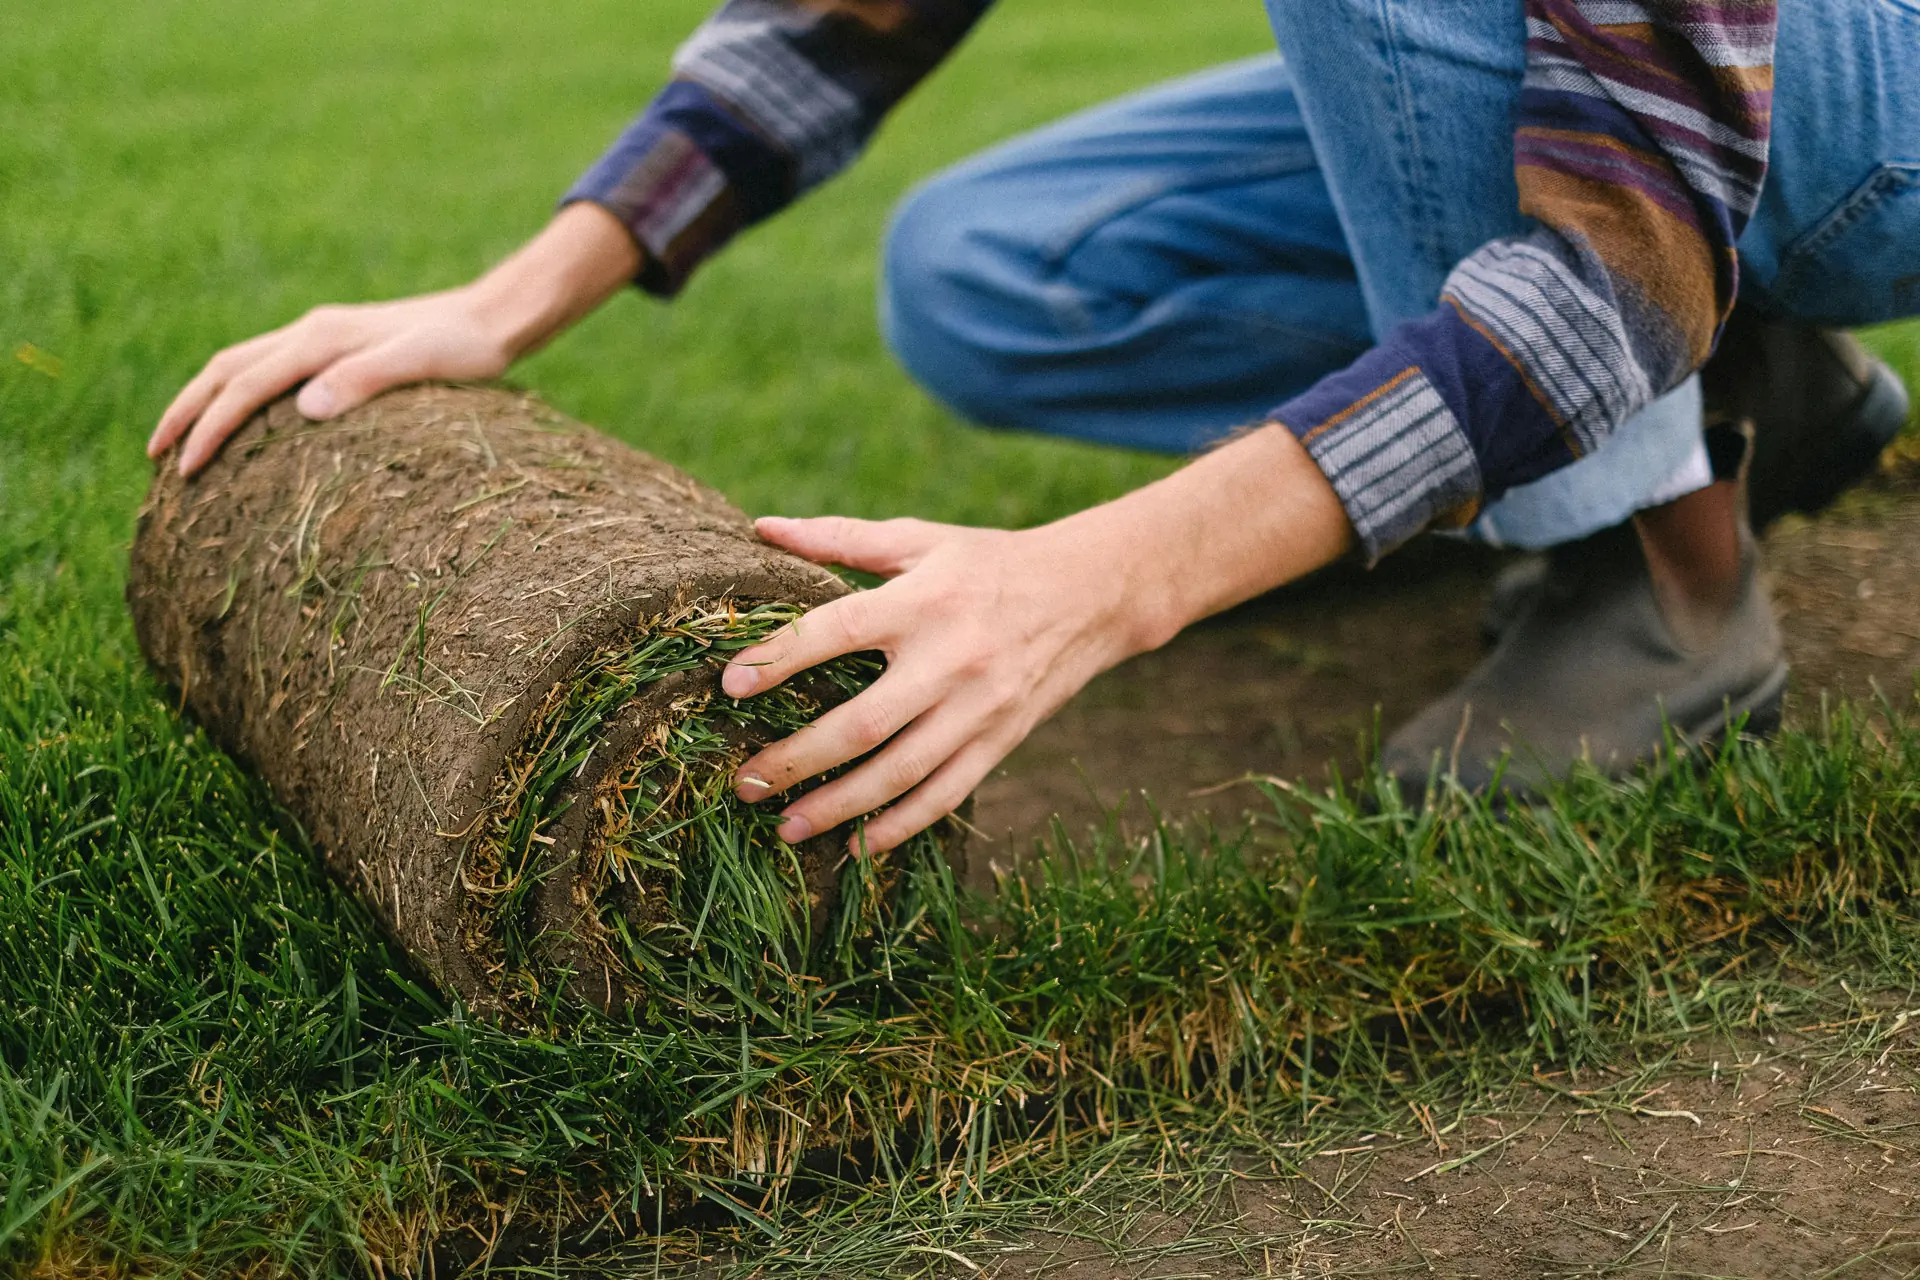
DIY sod installation is demanding and requires careful timing. The work includes removing old grass, hauling materials, grading soil, laying heavy rolls, trimming edges, rolling the surface, and watering immediately.
Physical Demands
Sod rolls become heavy, especially when moist. Repeated lifting and carrying can cause fatigue, which may lead to rushed placement or uneven seams.
Large lawns may require moving thousands of pounds in one day.
Technical Demands
The final soil grade must direct water away from buildings while maintaining a smooth surface. Low spots can collect water, and high spots may dry quickly or interfere with mowing.
Professional grading and leveling can help correct uneven areas and improve drainage before sod is installed.
DIY installers must also calculate the correct amount of sod. Ordering too little delays completion, while ordering too much increases waste.
Roots, clay soil, irrigation heads, curves, beds, and slopes make the project harder.
What Equipment Is Needed to Install Sod Properly?
Proper installation requires more than a shovel and hose. Equipment depends on lawn size, soil condition, and required turf removal.
Site Preparation Tools
Common tools include a sod cutter, rototiller, grading rake, shovel, wheelbarrow, and landscape rake. Larger properties may require a skid steer or compact equipment for removal and grading.
When existing grass must be removed, professional sod tear-out services can simplify clearing and disposal.
Installation Tools
A utility knife or sod knife is needed for accurate cuts around curves, irrigation heads, trees, and hardscaping. A lawn roller helps press roots against the prepared soil.
Sprinklers, hoses, timers, and irrigation controls must be ready before the sod arrives.
Safety and Cleanup Equipment
Gloves, sturdy footwear, eye protection, tarps, and hauling equipment help manage debris and reduce injuries.
Machine rentals may increase DIY costs. Homeowners should compare equipment rental, delivery, disposal, labor, and time with a professional estimate.
How Do Professionals Prepare Soil Before Laying Sod?
Professionals remove existing grass, weeds, roots, rocks, and debris. They then evaluate the grade, soil depth, drainage, and compaction before making corrections.
Clearing and Grading
Old turf is removed to create a clean base. The area is shaped so water moves away from foundations and does not collect in low sections.
Proper grading also creates smooth transitions near sidewalks, driveways, patios, and planting beds. Understanding when lawn leveling improves drainage issues can help homeowners recognize when correction is necessary.
Loosening and Improving Soil
Compacted soil is loosened so new roots can penetrate more easily. Professionals may add topsoil, compost, or other amendments.
Amendments should be based on actual conditions instead of guesswork. Professional topsoil installation may be recommended when the existing soil lacks sufficient depth or quality.
Final Preparation
The soil is raked smooth, lightly compacted, and checked for proper elevation. Irrigation coverage is confirmed before laying begins.
This preparation benefits professional sod installation in Charlotte, NC, where clay soil and drainage affect establishment. The importance of soil preparation before installing sod extends beyond appearance because root contact and drainage influence long-term lawn performance.
What Mistakes Should Homeowners Avoid When Installing Sod?
Avoid placing sod over weeds, compacted soil, debris, or poorly graded ground. Covering a problem does not correct it and may cause the new lawn to fail.
Delaying Installation
Sod left stacked in heat can deteriorate quickly. Rolls should be installed and watered as soon as possible after delivery.
The timing of sod delivery and lawn freshness matters because harvested turf begins losing moisture before installation.
Leaving Gaps or Overlaps
Gaps expose soil and allow edges to dry. Overlaps create raised areas that root poorly and interfere with mowing.
Pieces should fit tightly without stretching. Seams should be staggered rather than aligned in long rows.
Watering Incorrectly
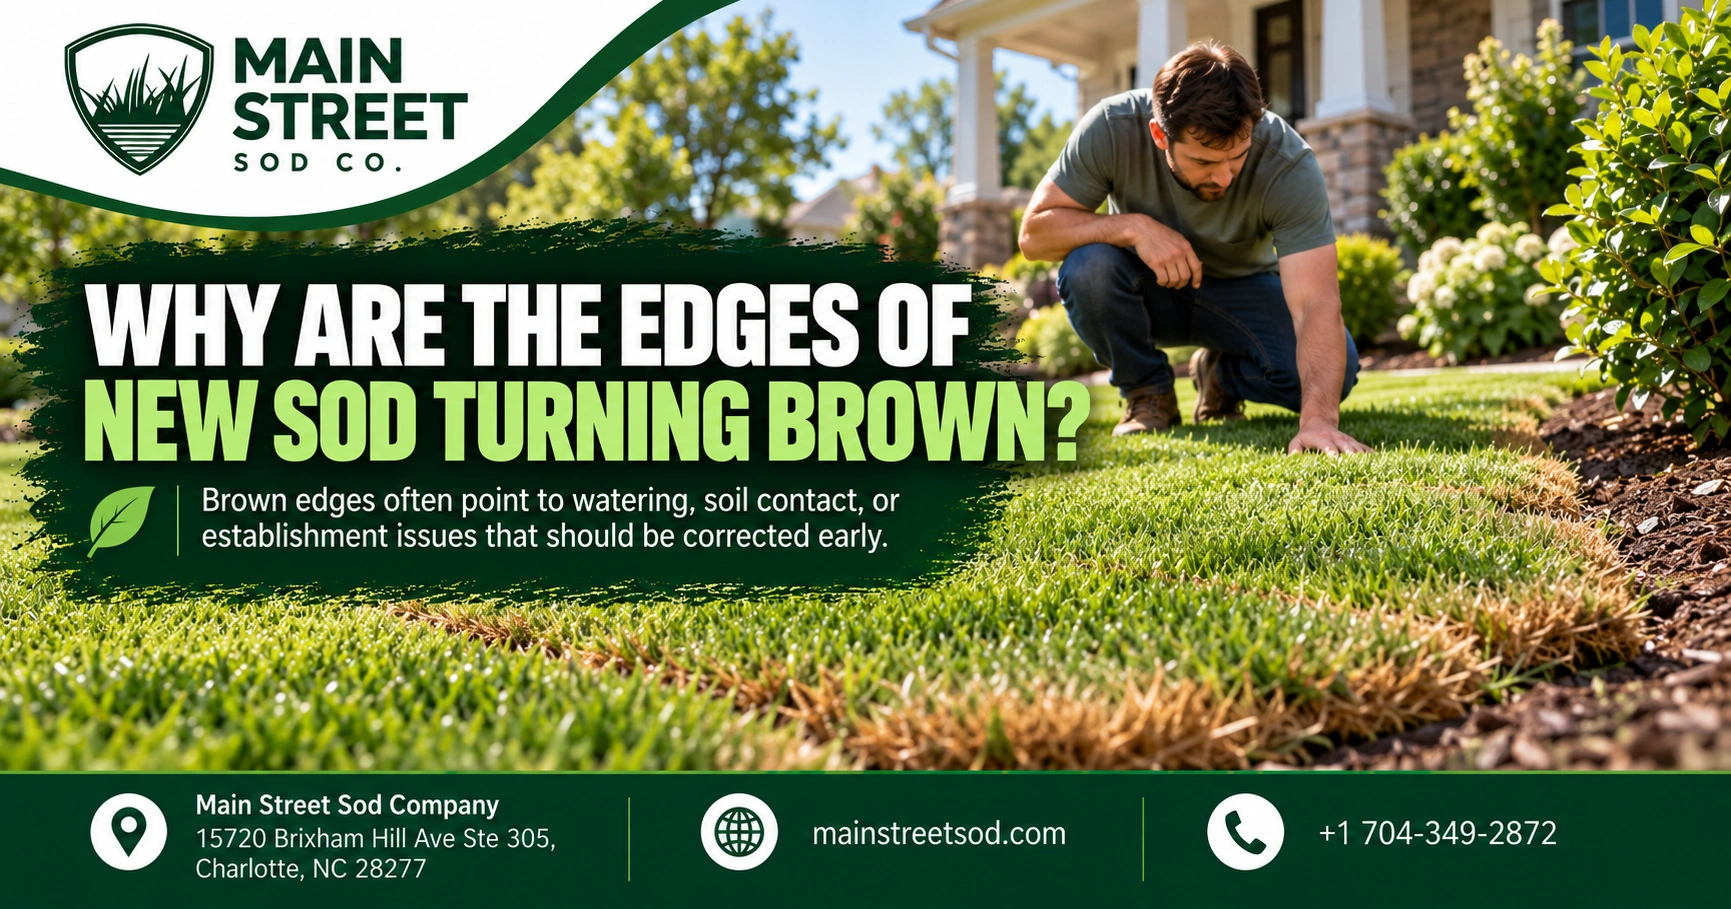
Too little water causes shrinking and browning. Too much water creates saturated soil, weak roots, and disease risk.
Coverage should be checked across edges, corners, slopes, and areas near pavement because they may dry faster. Following practical guidance for watering, mowing, and fertilizing new sod can support healthier establishment.
Using the Lawn Too Soon
Foot traffic can shift sod and create depressions. Pets, children, and equipment should stay off the lawn until roots begin anchoring.
How Much Time Does Professional Sod Installation Save?
Professional installation can save days of heavy work, depending on property size and preparation. A trained crew may complete a project in one or two days that could take a homeowner an entire week.
Faster Preparation
Crews use specialized equipment to remove turf, move soil, and establish grade efficiently. They also coordinate sod delivery with site readiness.
This prevents fresh material from sitting unused during preparation.
Efficient Installation
Multiple installers can work in sections, keep seams aligned, make cuts quickly, and begin watering finished areas without delaying the entire project.
Less Time Correcting Mistakes
Improper grading, gaps, uneven soil, and missed irrigation areas can require repairs after installation. Professional planning lowers the risk of spending additional weekends fixing preventable problems.
Time savings include disposal, equipment pickup, cleanup, and aftercare. For busy homeowners, professional service can reduce disruption while giving the lawn a stronger chance of establishing successfully. Professional placement also influences long-term lawn health by improving soil contact, seam alignment, and watering consistency.
Key Takeaways
Professional sod installation is often worthwhile when a lawn is large, uneven, compacted, poorly drained, or difficult to access. DIY work may succeed on smaller sites with good soil, proper tools, and enough time to finish quickly.
Site preparation, grading, soil contact, seam placement, and immediate watering determine long-term results. Homeowners should compare equipment rental, disposal, labor, and correction costs with a professional estimate.
Experienced installation saves time, reduces physical strain, and helps new sod establish evenly without preventable gaps, low spots, or early damage during growth through changing seasons.
Give Your Lawn a Stronger Beginning
MainStreet Sod Company helps homeowners evaluate whether their property needs minor lawn repair or complete replacement. The team considers soil condition, drainage, sunlight, grading, irrigation coverage, traffic, and the condition of existing grass before recommending a practical approach.
For dependable professional sod installation in Charlotte, NC, MainStreet Sod Company can manage removal, preparation, sod selection, placement, rolling, and early care guidance. This organized process helps homeowners avoid common mistakes while reducing the time and physical effort required.
A professional assessment can clarify the project scope and help determine whether full installation support is the right choice for the property. Homeowners can contact MainStreet Sod Company to discuss site conditions and installation requirements.