A professional sod installation service includes site evaluation, removal of existing turf, soil preparation, sod placement, rolling, watering, and clear aftercare instructions. Homeowners should expect the crew to inspect drainage, grade the area, prepare the soil, install fresh sod quickly, and explain how to protect the lawn while roots establish.
The process is organized to reduce delays and improve survival. Understanding each stage helps homeowners prepare the property, plan around installation day, and avoid mistakes that can weaken new grass during its most sensitive period without unnecessary disruption or confusion.
What Happens Before Sod Is Installed?
Before installation, the contractor inspects the lawn and discusses the scope. This evaluation identifies drainage concerns, compacted soil, irrigation problems, shade, and access limitations.
The installer may measure the site to estimate the amount of sod required. Accurate measurements reduce waste, prevent shortages, and help the crew plan sod delivery.
Homeowners may also receive instructions before the appointment. These can include moving furniture, toys, planters, hoses, vehicles, and pet equipment away from the work area.
Site and Grass Evaluation
The crew should determine which grass variety fits the property. Sun exposure, soil type, foot traffic, maintenance preferences, and seasonal conditions all affect selection. Homeowners can also review available turf grass varieties to better understand their options.
A professional may also test sprinkler coverage. Uneven irrigation can cause new sod to dry out before roots establish.
The planning stage is important because the sod installation process works best when delivery, labor, soil preparation, and watering are coordinated.
How Long Does Professional Sod Installation Take?
Most residential projects take one to several days. The schedule depends on lawn size, access, removal, grading, soil condition, irrigation repairs, and weather.
A small yard with limited preparation may be completed in one day. A larger property with heavy weeds, poor drainage, roots, debris, or steep slopes usually requires more time.
Preparation often takes longer than sod placement. Removing old turf, correcting low spots, loosening soil, and setting the final grade must be completed before fresh sod arrives.
The crew should install sod soon after delivery. Sod is a living product, and long delays can cause heat buildup, moisture loss, and stress. Understanding why speed matters during turf delivery can help homeowners see why scheduling and preparation must be coordinated carefully.
Rain can slow removal and grading. Severe heat can shorten the safe installation window. A professional crew adjusts the schedule to protect both the soil and the grass.
Do Installers Remove Old Grass First?
Yes, old grass is usually removed before new sod is installed. Placing sod directly over an existing lawn can create poor soil contact, uneven surfaces, drainage problems, and weak rooting.
The crew may use a sod cutter, shovel, or other equipment during the sod tear-out process. Weeds, roots, stones, and construction debris should also be cleared.
Why Removal Matters
New roots need direct contact with prepared soil. Old grass creates a barrier that can keep moisture and nutrients away from the sod.
Removal also gives the installer a chance to inspect the ground underneath. Hidden problems may include:
- Compacted clay
- Low areas
- Buried materials
- Insect damage
- Poor grading
Some properties require herbicide treatment when aggressive weeds are present. Any treatment should be completed according to product instructions and with enough time before installation.
Complete removal creates a cleaner and more stable base for the new lawn.
How Is the Soil Prepared for New Sod?
Soil preparation is one of the most important parts of the project. Proper preparation helps roots spread, improves drainage, and supports even growth.
The installer first removes debris and loosens compacted soil. Tilling may be used when the soil is hard or heavily compressed.
Topsoil, compost, or other amendments may be added when needed. The material depends on soil condition, drainage, and nutrient needs. In some cases, professional topsoil installation may be recommended to create a healthier planting base.
Grading and Leveling
The crew grades the surface so water moves away from structures and does not collect in low spots. Professional grading and leveling also helps reduce bumps, gaps, and uneven seams.
The finished grade must account for the thickness of the sod. This helps the new lawn sit properly beside sidewalks, driveways, patios, and planting beds.
The soil may be lightly compacted to create a stable surface without making it too hard for roots to penetrate.
A starter fertilizer may be applied when appropriate. The area is watered lightly before sod placement so the roots meet moist soil.
What Maintenance Is Required After Installation?
New sod requires consistent watering, limited traffic, careful mowing, and close observation. The first few weeks are especially important because the roots are still developing.
Watering usually begins immediately after installation. The sod and the soil beneath it should become thoroughly moist without remaining flooded.
During the early period, frequent watering may be necessary. The schedule should be adjusted for temperature, rainfall, shade, soil type, and grass variety.
Mowing and Fertilizing
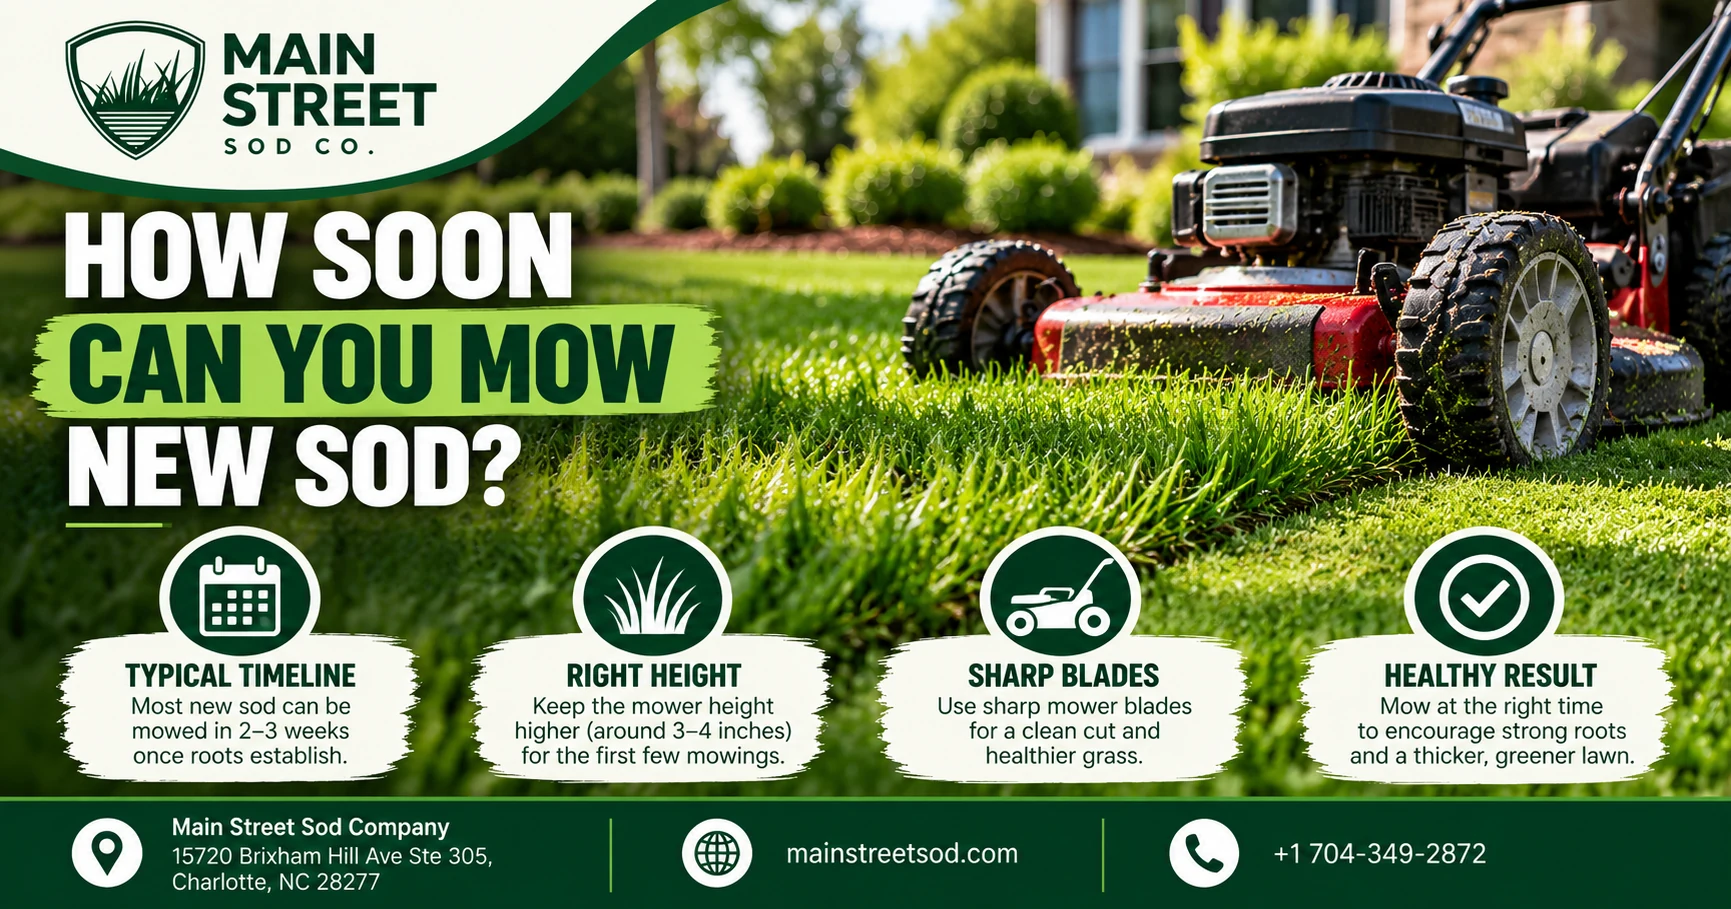
The first mowing should wait until the sod has rooted enough that the mower will not pull or shift it. Grass should be cut with sharp blades, and no more than one third of the leaf height should be removed.
Fertilizer should follow the installer’s recommendations. Applying too much too soon can stress the grass or encourage weak growth.
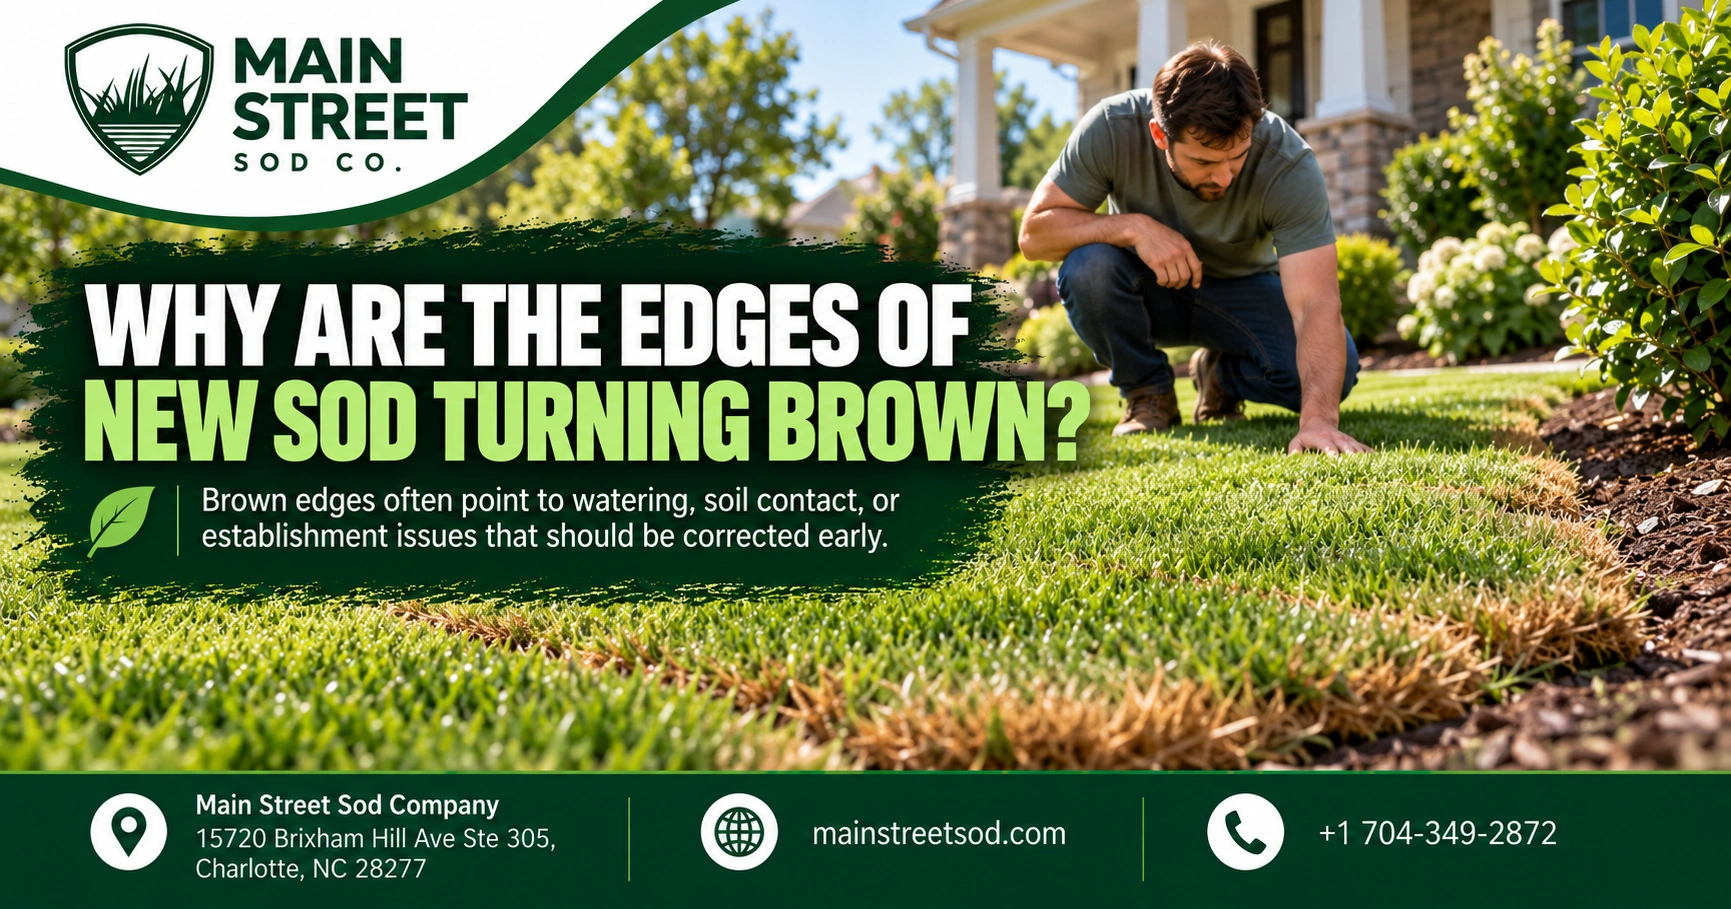
Homeowners should watch for lifting edges, dry seams, standing water, discoloration, or signs of disease. Early correction can prevent a small issue from becoming widespread. Following proper sod watering, mowing, and fertilization practices can support stronger establishment.
When Can I Use My Lawn After Sod Installation?
Light use should be limited until the sod has rooted into the soil. Walking on fresh sod can shift pieces, create depressions, open seams, and damage tender roots.
Homeowners may need to step carefully onto the lawn for watering or inspection. Use the shortest route possible and avoid repeated traffic.
Children and pets should remain off the area during the initial establishment period. Running, digging, and concentrated activity can disturb the surface.
A simple root test can help. Gently lift a corner of the sod. If it resists and remains attached, roots are beginning to establish.
Normal use should resume gradually. Heavier activity may require several weeks, depending on weather, grass type, watering, and growth.
The installer should provide a practical timeline based on site conditions rather than a single fixed date.
How Do Professionals Ensure Sod Survives?
Professionals improve sod survival by coordinating preparation, delivery, installation, rolling, watering, and aftercare.
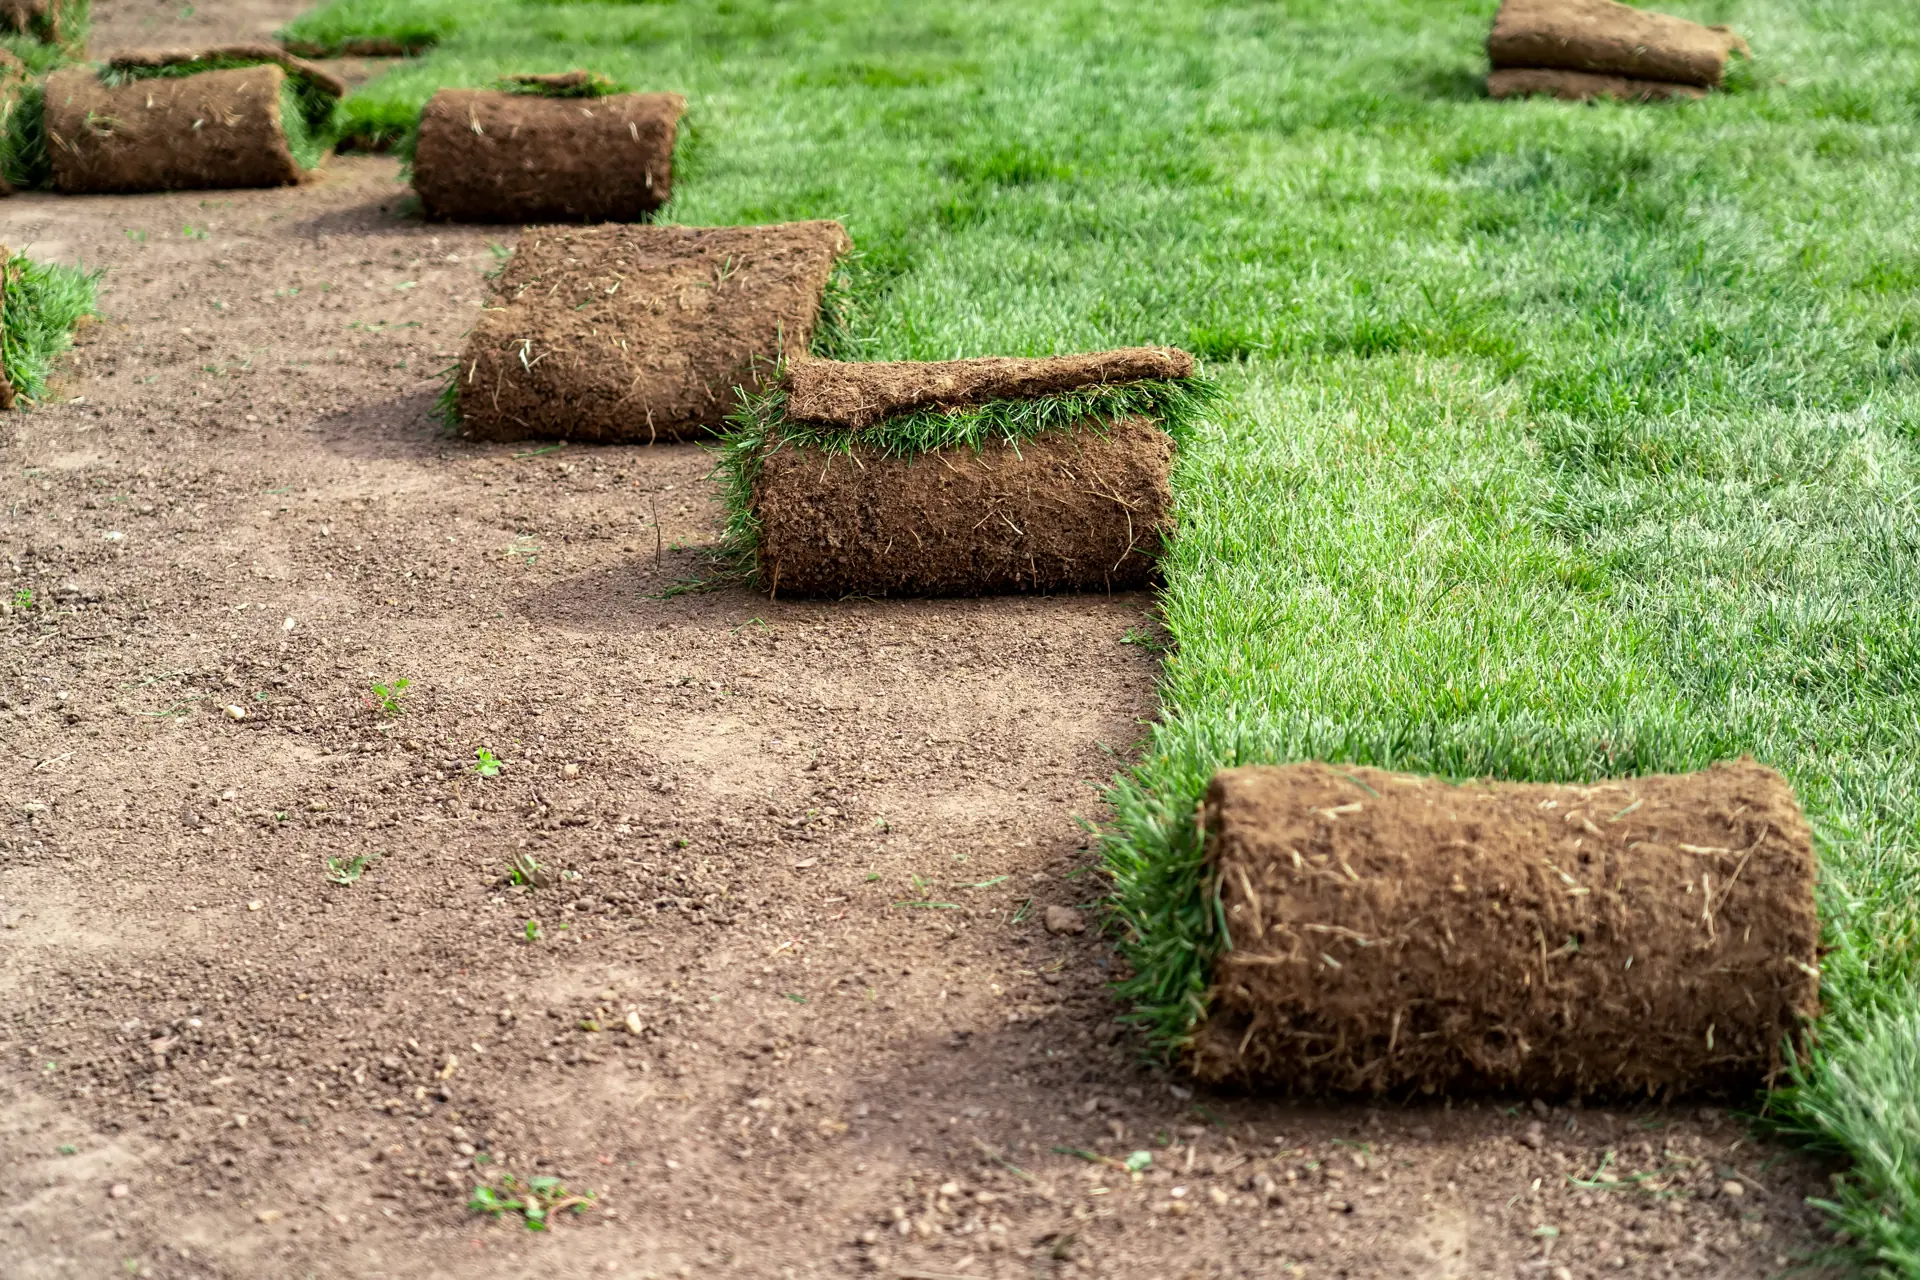
Fresh sod is placed in staggered rows with tight seams. Pieces should not overlap, and edges should be trimmed carefully around curves, beds, and hard surfaces.
The crew may use a roller after placement. Rolling improves contact between the roots and soil, removes air pockets, and reduces shifting.
Installers also check irrigation coverage before leaving. Dry corners, blocked sprinkler heads, and uneven spray patterns can damage a new lawn quickly.
A reliable sod installation company in Charlotte, NC should explain:
- Watering frequency
- Mowing timing
- Traffic limits
- Warning signs
- Recommended grass care
Professional care cannot eliminate every risk. Extreme weather, irrigation failure, pests, disease, and neglect can still affect results. However, correct installation gives the sod a stronger chance to establish evenly and remain healthy. Homeowners can also review common sod problems and how to fix them before installation.
Key Takeaways
Professional sod installation includes site evaluation, old turf removal, soil preparation, grading, sod placement, rolling, watering, and detailed aftercare.
Preparation often takes longer than installation because the ground must support healthy rooting and proper drainage. Homeowners should keep people and pets off fresh sod, water consistently, delay mowing, and watch for dry seams or standing water.
Professional crews improve survival by using fresh materials, creating tight soil contact, checking irrigation, and coordinating each stage. Strong results depend on both correct installation and careful maintenance during establishment after the crew leaves.
Start Your Lawn With the Right Foundation
MainStreet Sod Company helps homeowners prepare for installation with expectations, site evaluation, and practical aftercare guidance. Our team focuses on the details that influence rooting, drainage, appearance, and long-term performance.
A well-managed project begins before the sod arrives and continues through the establishment period. Contact MainStreet Sod Company to discuss your property, timeline, grass options, and the preparation needed for a healthy, even lawn that starts strong from the first day.